Sometimes the blogging world thinks up of very fun stuff for us food bloggers to do. It's not just about recipes and contests, but also about fun ways to engage people into understanding a product line with the help of us food bloggers.
The #Createfearlessly hashtag is a joint effort between Blogadda and Hamilton Beach. While Hamilton Beach is well known kitchen gadget brand in the US, it's just made it's way into India and that's why it wants to come in with a bang.

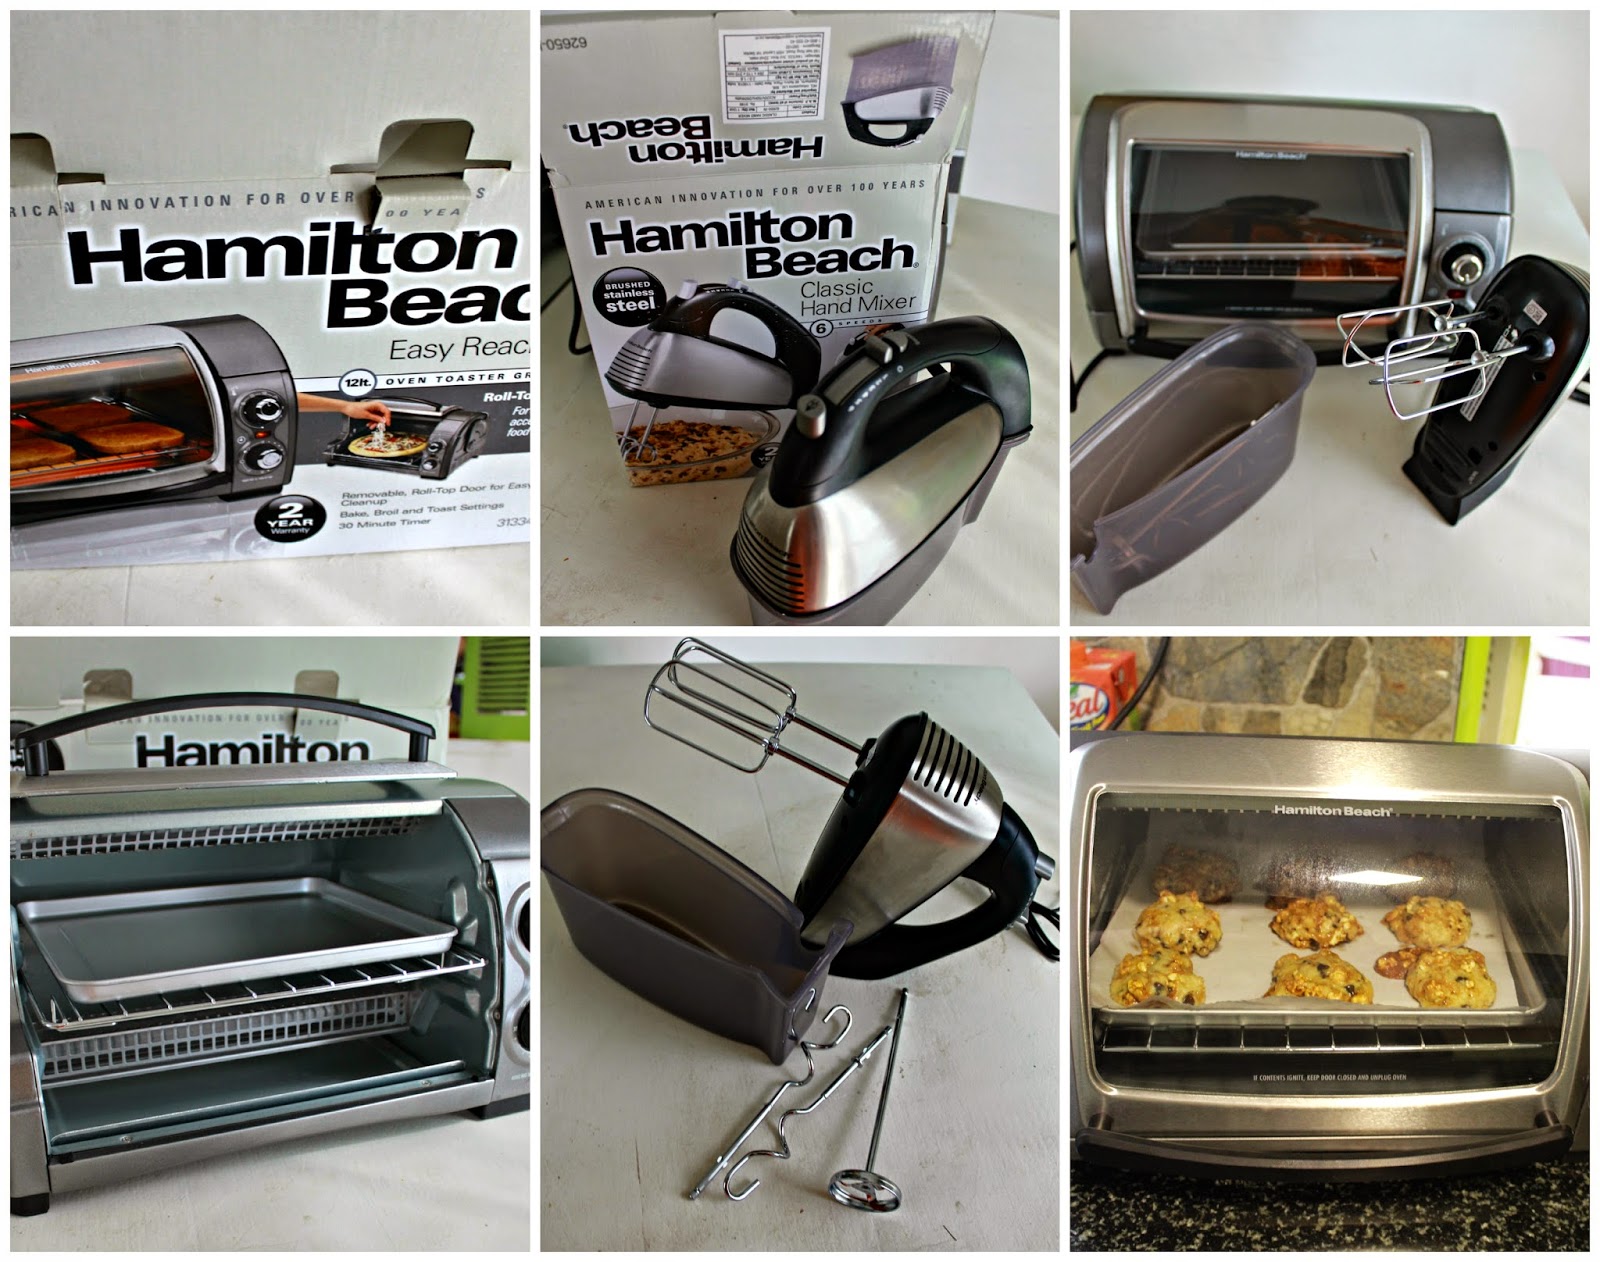
I received two fab gadgets from the Hamilton Beach catalog - a Classic hand mixer and a 12 liter Oven Toaster Grill: together called "The Sweet-toothed baker". Boxed in tightly, I had plenty of trouble with the courier service that was on it's way to deliver it. But the lesser said about that, the better.
The gadgets were both brand new and shining. I loved the steel finish on both. And as I opened the them both up, the attachments stood high and mighty looking at me.
The 12 liter toaster oven was a lot more spacious than I thought. It came with a crumb tray, a grill and a cookie sheet. I loved that it had temperature controls that made it easy to bake. The timer too was easy to use, but I felt it went off a bit too soon. And even though it was tiny it could hold a whole lot of things such as 1 4 x 6 inch baking dish, 3 ramekins at a time, 4 toasts and 9 cookies. Not too bad I thought.
The problem that I did face is that the back of the OTG gets a lot hotter than the front, so if you're baking cookies, you'll have to flip them after 6 or 7 minutes. Basically it's hard to leave it unattended.
The best part though, was the roll top door, which ensured that you couldn't burn yourself, so yay!

Coming to the hand mixer. It came with it's own box that could store the attachments and let the mixer stand on it. The attachments included two whisks, two kneaders, and one blender. This time around I only used the whisk.
6 speeds and a quick burst options ensured that the whipping, beating, whisking happens every quickly. Easy to use and ergonomically designed, I love love love this gadget.
What didn't make sense though was the combination of the two - it's very very hard to bake a pie or a cake unless its 4 inches large in this OTG. For a baker, this was going to be a hard bet. I think the whisk would have paired better with the 32liter oven while the 12 liters should have been paired with the blender to make it a Breakfast special option.
But oh well.
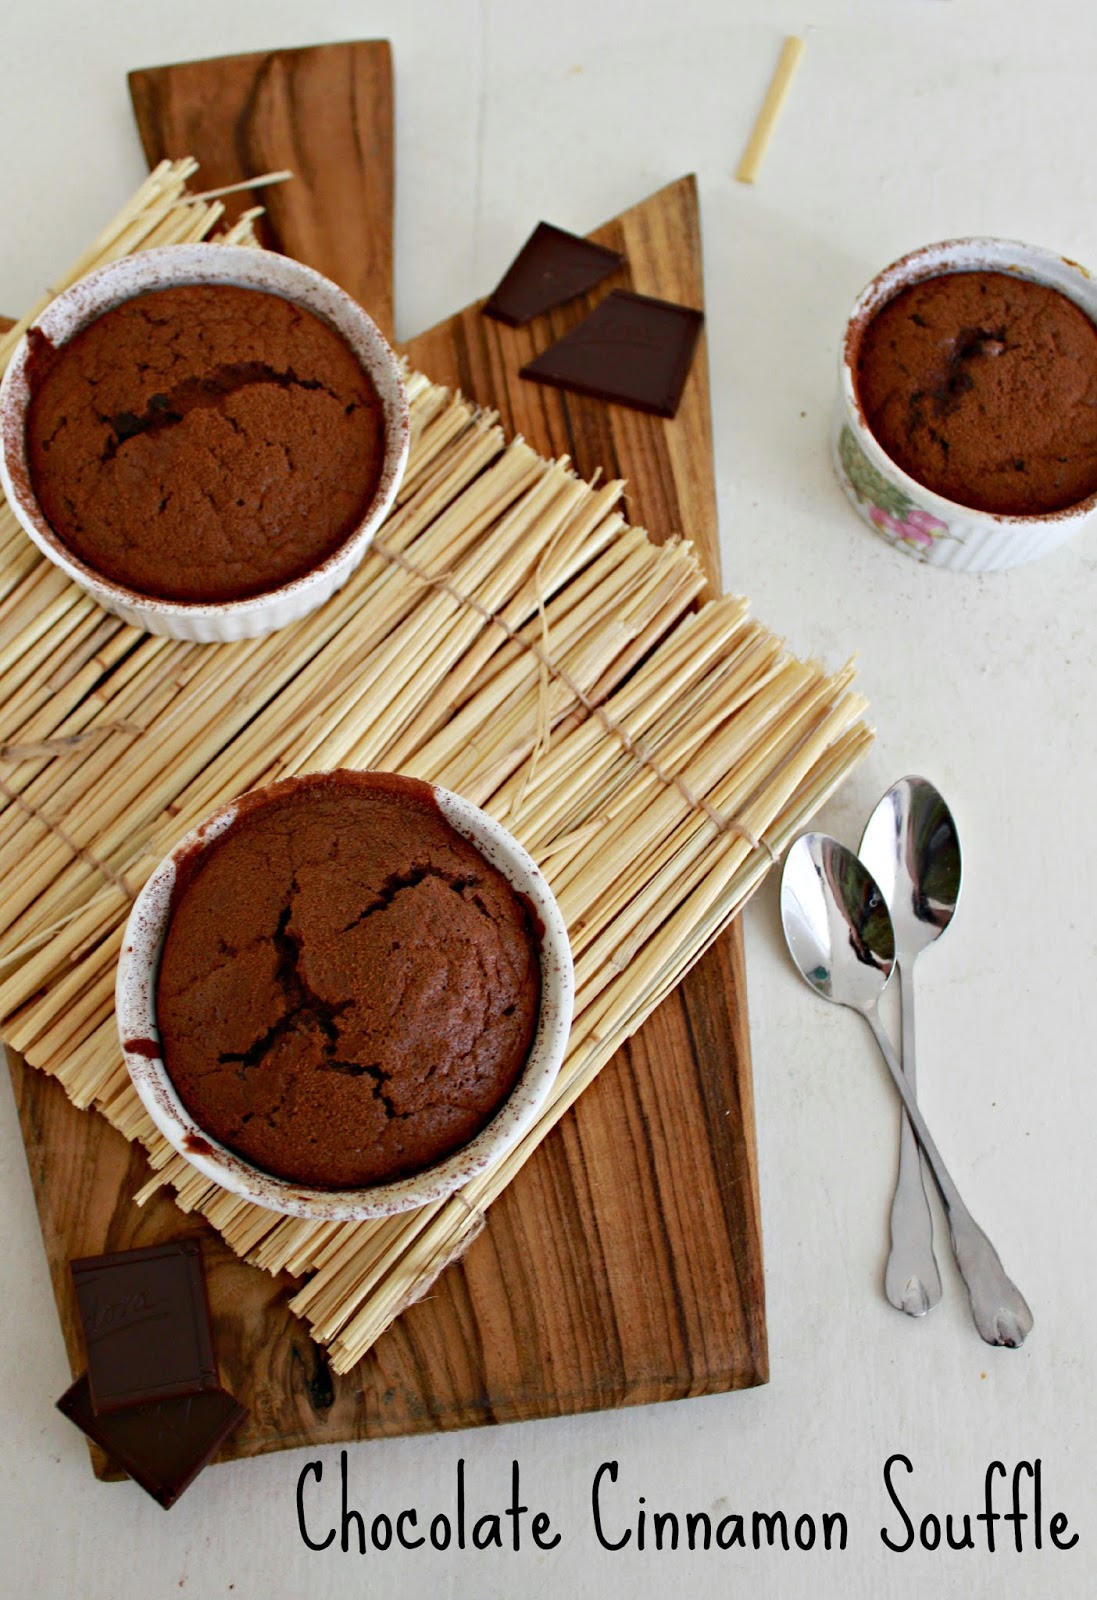
So on to what I baked with this. A simple super quick chocolate souffle that takes 25 minutes from the prep time to serve time. A souffle for two that can be made with pantry staples.
Of course you can play with the flavours - chocolate orange, chocolate coffee, chocolate mint, chocolate lemon - you know what I mean. I've used cinnamon and chili because I'm currently obsessed with them, but feel free to mix and match your ingredients.
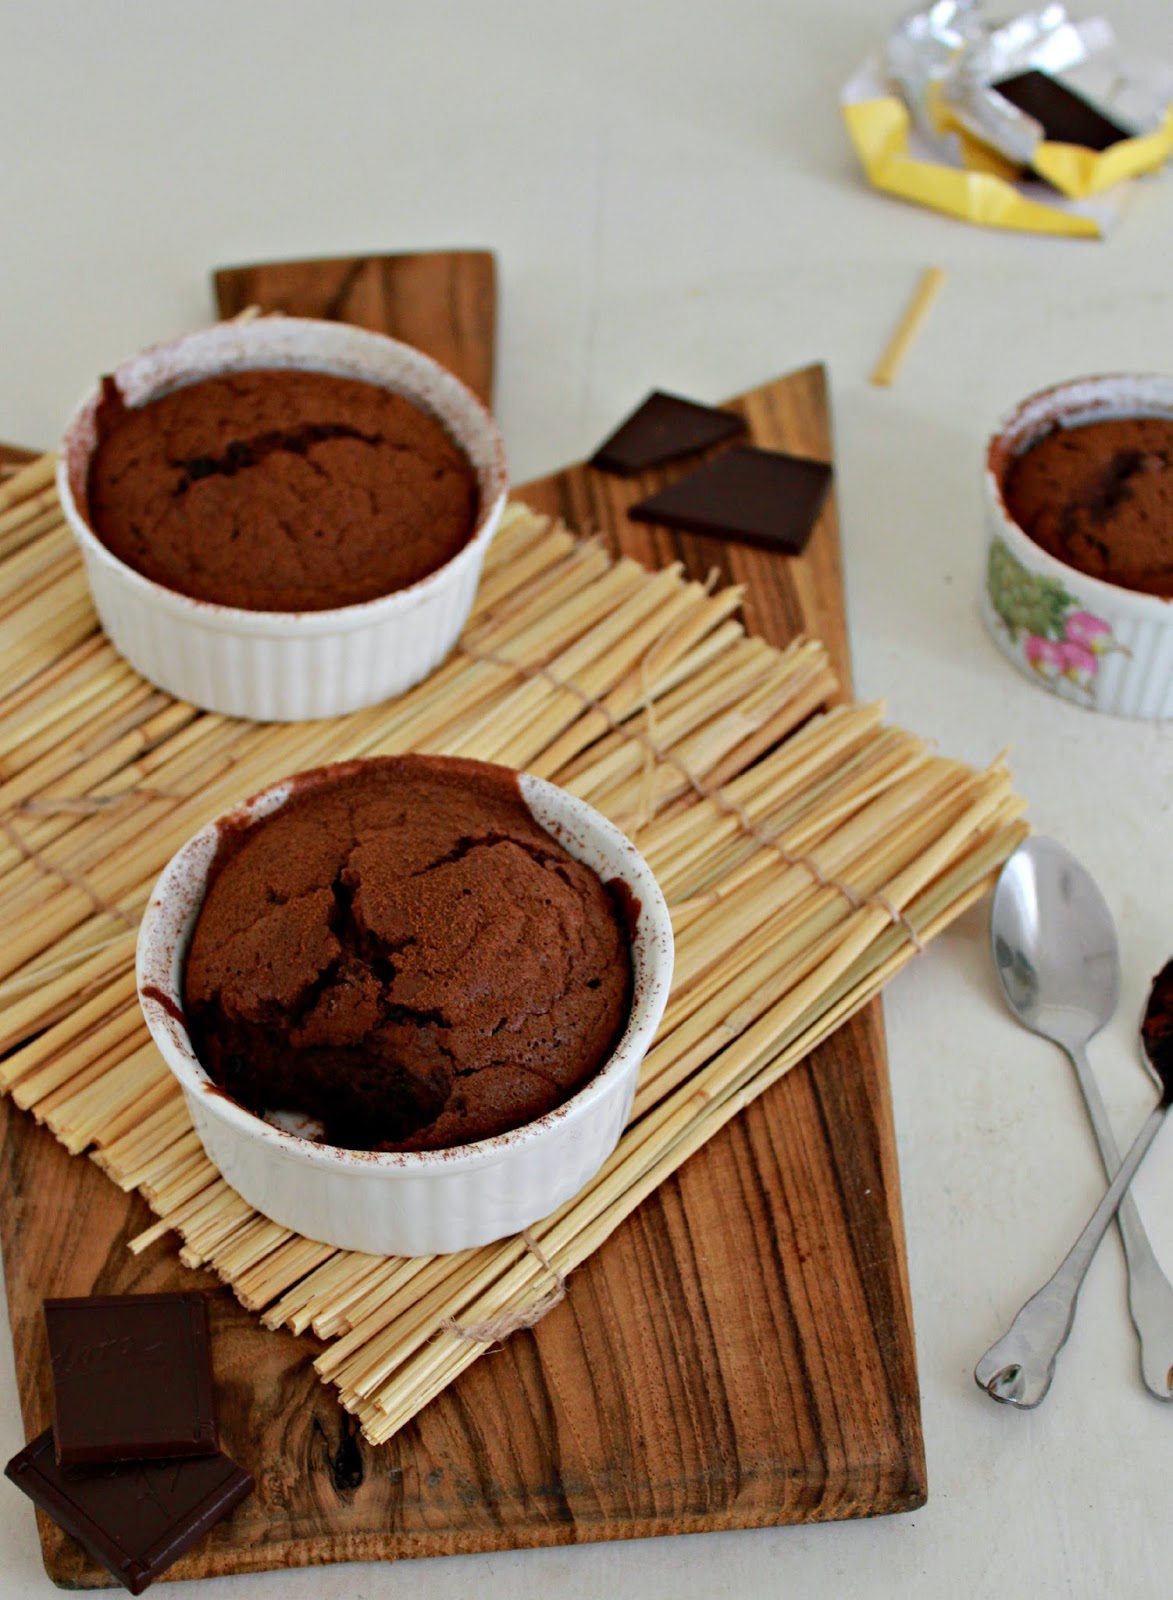
My tip for the souffle is that you must must butter the souffle ramekins well, you'll get a gorgeous even rise and frankly don't be afraid of it, it'll take at least 10 minutes before it falls half way down and even if that happens, give it another 5 minutes in the oven and call it a twice-baked souffle. Voila!
Chocolate Cinnamon Souffle
Serves 2
Ingredients
70 grams dark chocolate (50 percent atleast)
1 tblsp cocoa powder
3 tbslp sugar
1 tsp butter
1/4 tsp cinnamon
1/2 tsp vanilla extract
1/8 tsp salt
1/4 tsp cayenne pepper
1 egg yolk
3 egg whites
Method
1. In a microwave friendly bowl melt the chocolate and add to it the sugar, butter and cocoa powder,
whisk well.
2. Add the cinnamon, chilli, vanilla and salt and whisk well. Keep aside.
3. In a large bowl whisk the egg whites till they form stiff peaks.
4. Fold gently into the chocolate mixture. Pour into prepared ramekins.
5. Bake at 180 minutes for 15 to 18 minutes.
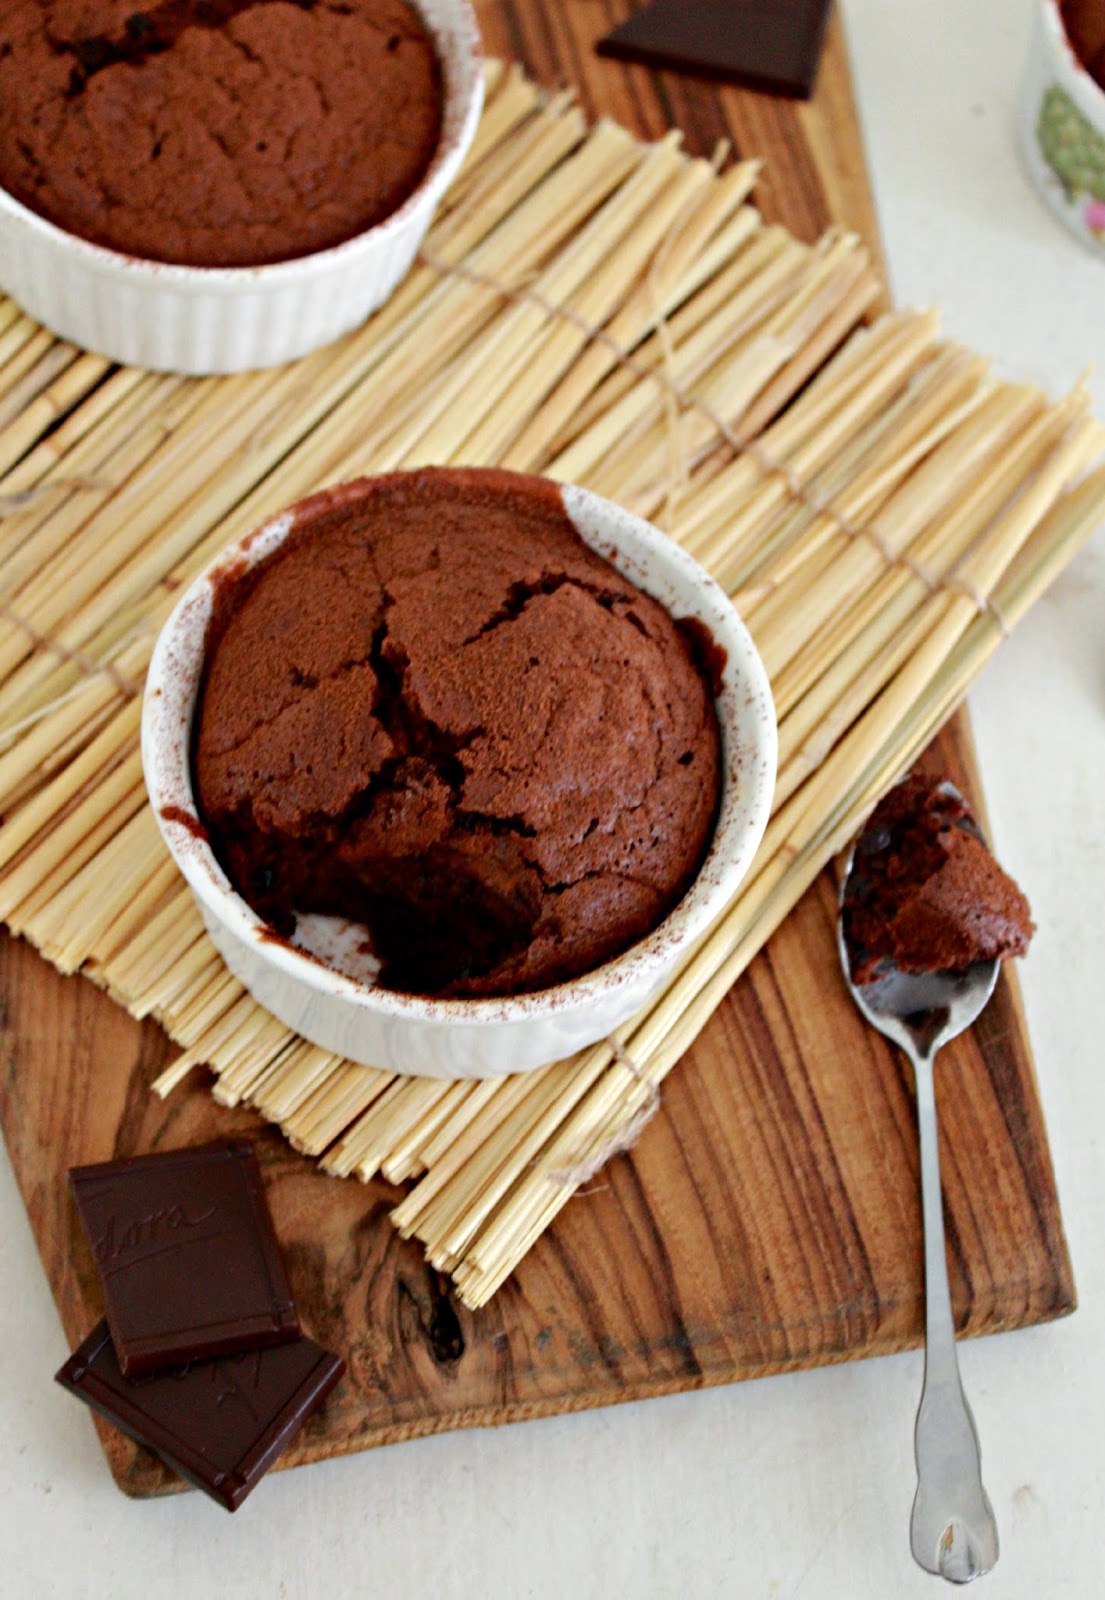
6. Serve hot dusted with a bit of cocoa powder.


.jpg)
.jpg)